
How to Fix Easily "Error establishing a database connection" in WordPress website - Step by Step Guide
How to fix "Error establishing a database connection" in a WordPress website
In this article we will try to learn what is Error establishing a database connection error in WordPress website. Sometime you might have seen this error or if you are not faced till now then it is a better thing to learn this thing and get benefited in the future. so first of all we will try to learn what this error actually means and why this error occurs first of all let us know that how wordpress works.
WordPress actually works on two modules the first module is our files and themes, plugins, media files, softwares and all other things, then there is another module that is database which is the actual module of running a website. Your database connect your data to the users who are seeking the information from your website.
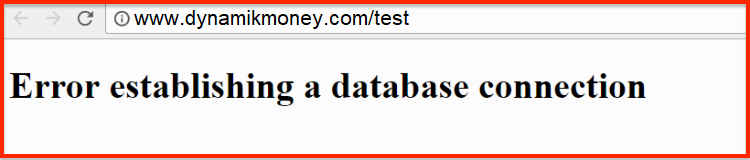
Database renders off page which is being shot by a user to get the relevant information if the database is corrupt or if it is malfunctioning then it will display this error.
Now we will try to learn how to fix this error. there are four ways through which we can overcome this situation. Let's try the first method :
The first and foremost thing which you need to confirm is whether you are getting this error while Surfing the website or you are also getting the same error while accessing your admin dashboard.
Now let's start the step 1 first of all we need to turn on the repair utility in our WP-config file. well if you do not know where this file is, you can locate it using a file manager. There are lots of FTP file accessing softwares. filezilla is one of them which is absolutely free to use. FileZilla is a good program to access the file manager and all your files you can access easily with filezilla. Once located the wp-config.php file, you can right click and click edit on it. Once inside the file you need to add a little shortcode at the end of the file as mentioned below:
define( 'WP_ALLOW_REPAIR', true );
Once you you add it just make sure to save your changes after that you need to run the automatic database repair utility. Now to access the repair utility you need to go to the address bar and type the code given below:
YOURDOMAIN.com/wp-admin/maint/repair.phpOnce you open the page as you can see in the image.

Click on repair database now. After few seconds your database main get prepared and your site may work absolutely fine. However a very important thing to do here is that you need to remove the same line of code which you have added at the end of the config file. So now you remove that file and save your changes that's it. Now you made it fully working however if your site still is not working let's continue to the step 2.
Comments
Post a Comment